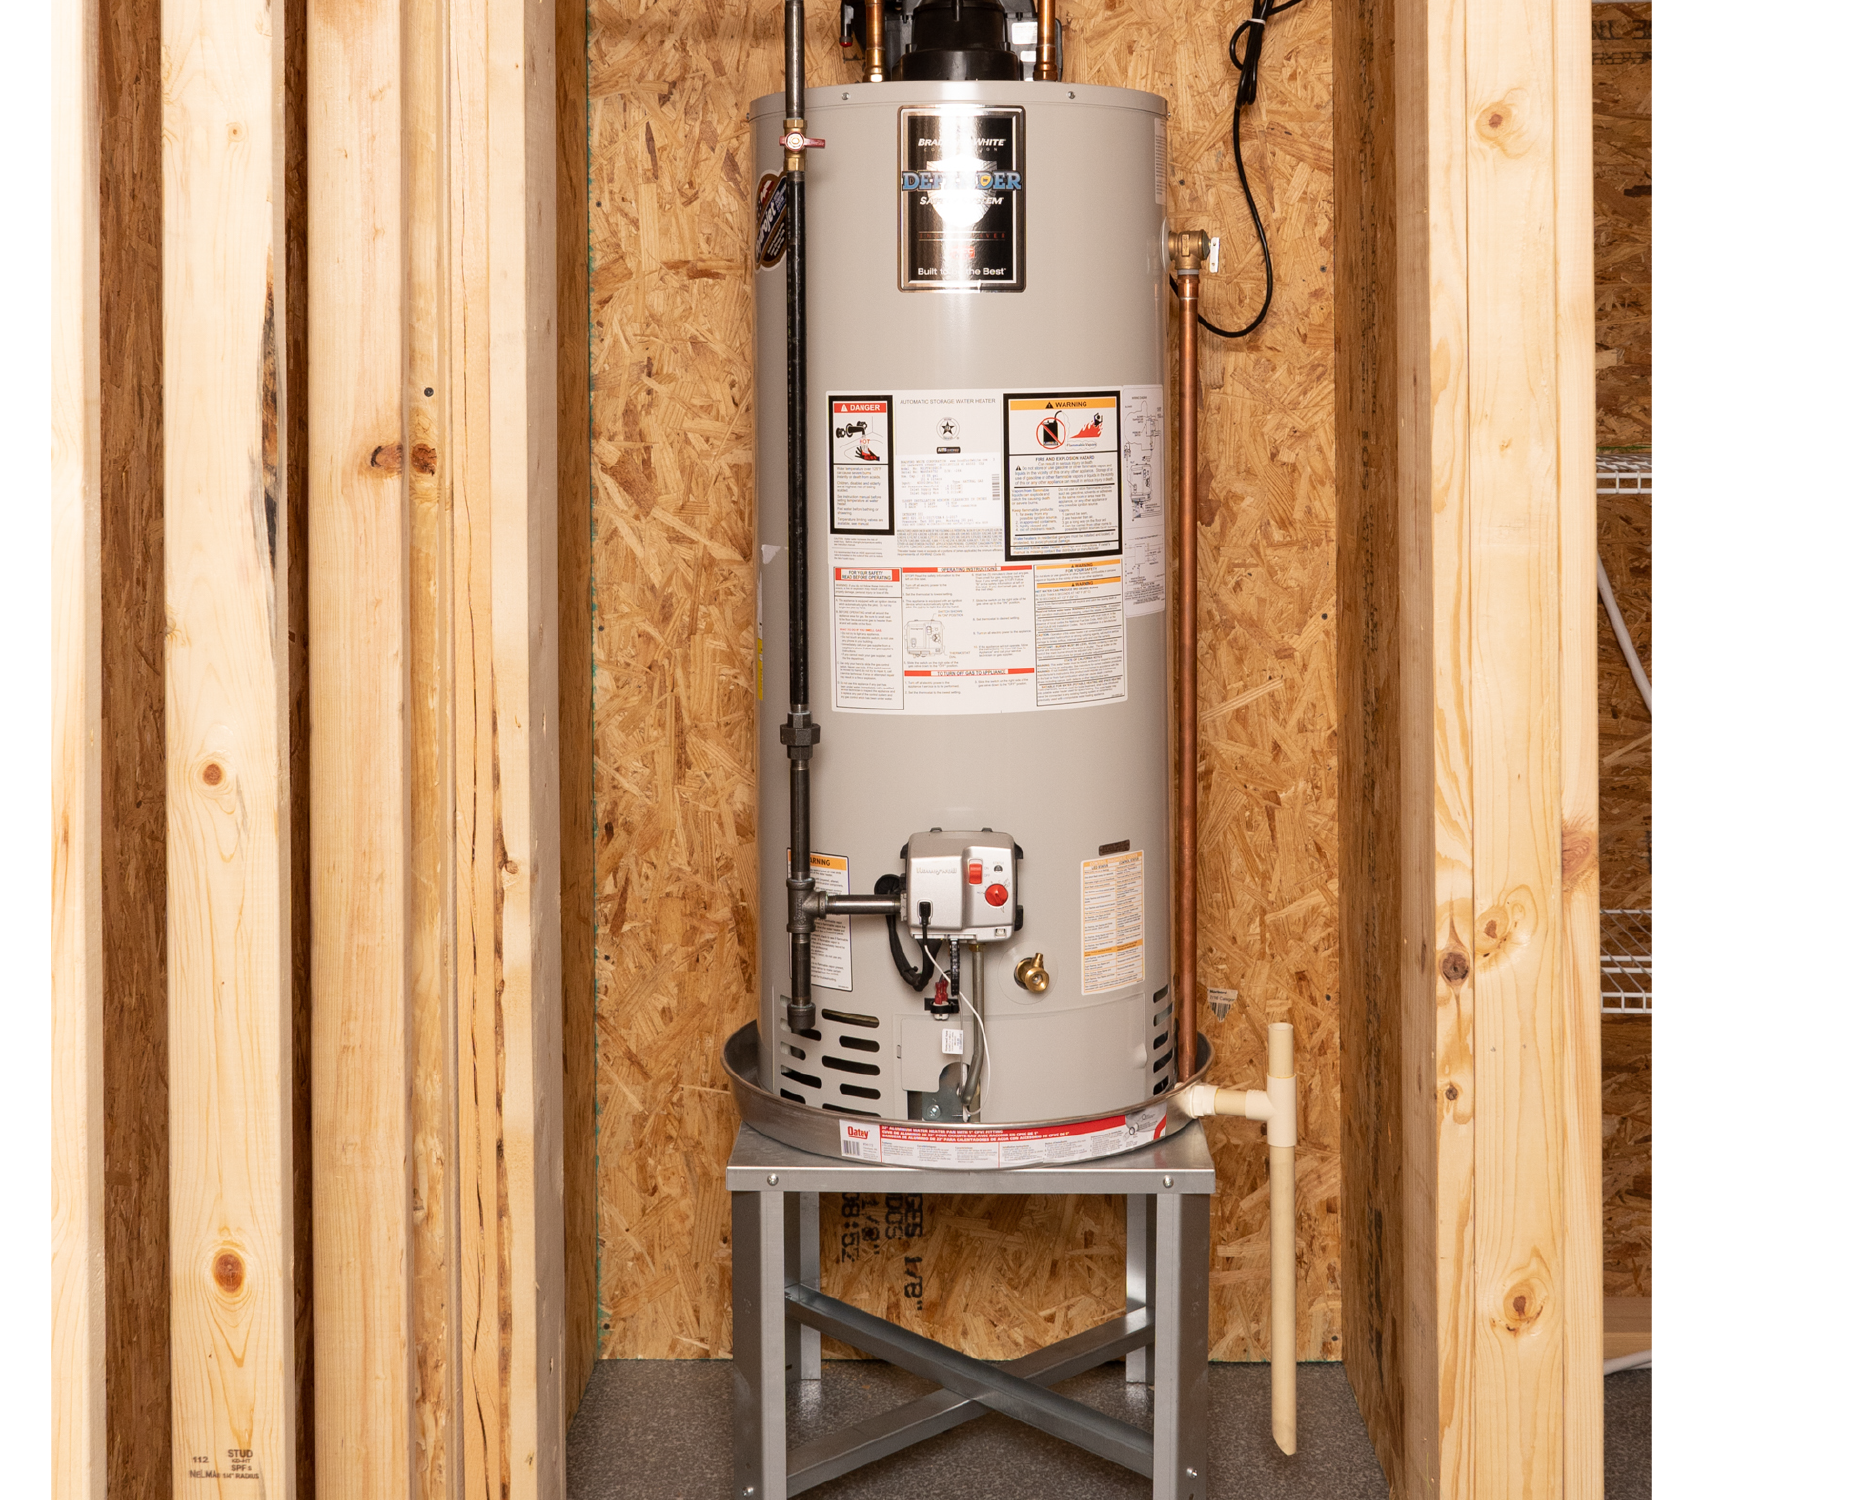
A water heater is a staple in nearly every home in the United States, providing the comfort of hot water for daily chores and hygiene needs. However, what often goes unnoticed is the unsung hero that lies beneath it – the water heater pan.
A water heater pan is placed under your water heater to catch any leaks or overflows, preventing water damage to your home. This accessory might seem mundane, but it is pivotal in safeguarding your home from potential water damage.
In this blog post, we will go over what water heater pans are, highlight the differences between metal and plastic versions, and provide information about their installation. Whether you are a new homeowner, a DIY enthusiast or a budding plumber, it is important to understand water heater pans as they play a crucial role in plumbing systems.
A water heater drain pan, also called a water heater drip pan, sits underneath your water heater. They are designed to collect water that may escape due to leaks or overflow. Its primary function is to prevent water damage to your floors and substructures while redirecting leaking water to a proper drain.
Typically, water heater pans are made from aluminum or plastic and feature an outlet that allows for the attachment of a drain line. This line safely diverts any collected water from the home, usually to an external drainage system or sump pump.
Water damage can be a silent threat to homes, often culminating from small, undetected leaks that escalate over time. It can compromise the structural integrity of your residence, leading to costly repairs and promoting mold and mildew growth, posing health risks. A water heater drain pan is a simple yet effective preventive measure that mitigates these risks.
Why Do You Need a Water Heater Drain Pan?
Operating without a water heater drain pan is like driving a car without insurance; it's a risk that invites potential disaster. Picture this: An unnoticed water drip from a leaky water heater gradually seeps into your floorboards and finds its way into your home's foundation. Over time, this can cause extensive damage, warping wood or eroding drywall. Without the safety net of a drain pan, a minor leak can quickly become a significant problem.
In addition to protecting your home from water damage, many building codes and regulations require installing a water heater pan. Be sure to check with your local code authorities for specific rules and regulations in your area.

Types of Water Heater Pan
When considering which type of water heater pan to install, you'll mainly encounter two materials: metallic and plastic. Typically crafted from aluminum or galvanized steel, metal pans offer durability and resilience to high temperatures. On the other hand, plastic pans, made from materials such as ABS or PVC, provide corrosion resistance. Each material has its own set of benefits and considerations, which we will examine closely, ensuring you can make an informed decision that best suits your home’s needs and local code requirements.
The standard depth for aluminum and plastic pans is 2-½ inches. Oatey also offers 3-inch-deep plastic pans in all sizes for areas where 3" depth is required.
Metal Pans: The primary advantage of metal water heater pans is their durability and ability to withstand high temperatures and impacts. Aluminum drain pans can be used on any type of tank heater. However, over time, they can be susceptible to corrosion.
You will want to opt for metal pans for applications exceeding 180 degrees Fahrenheit.
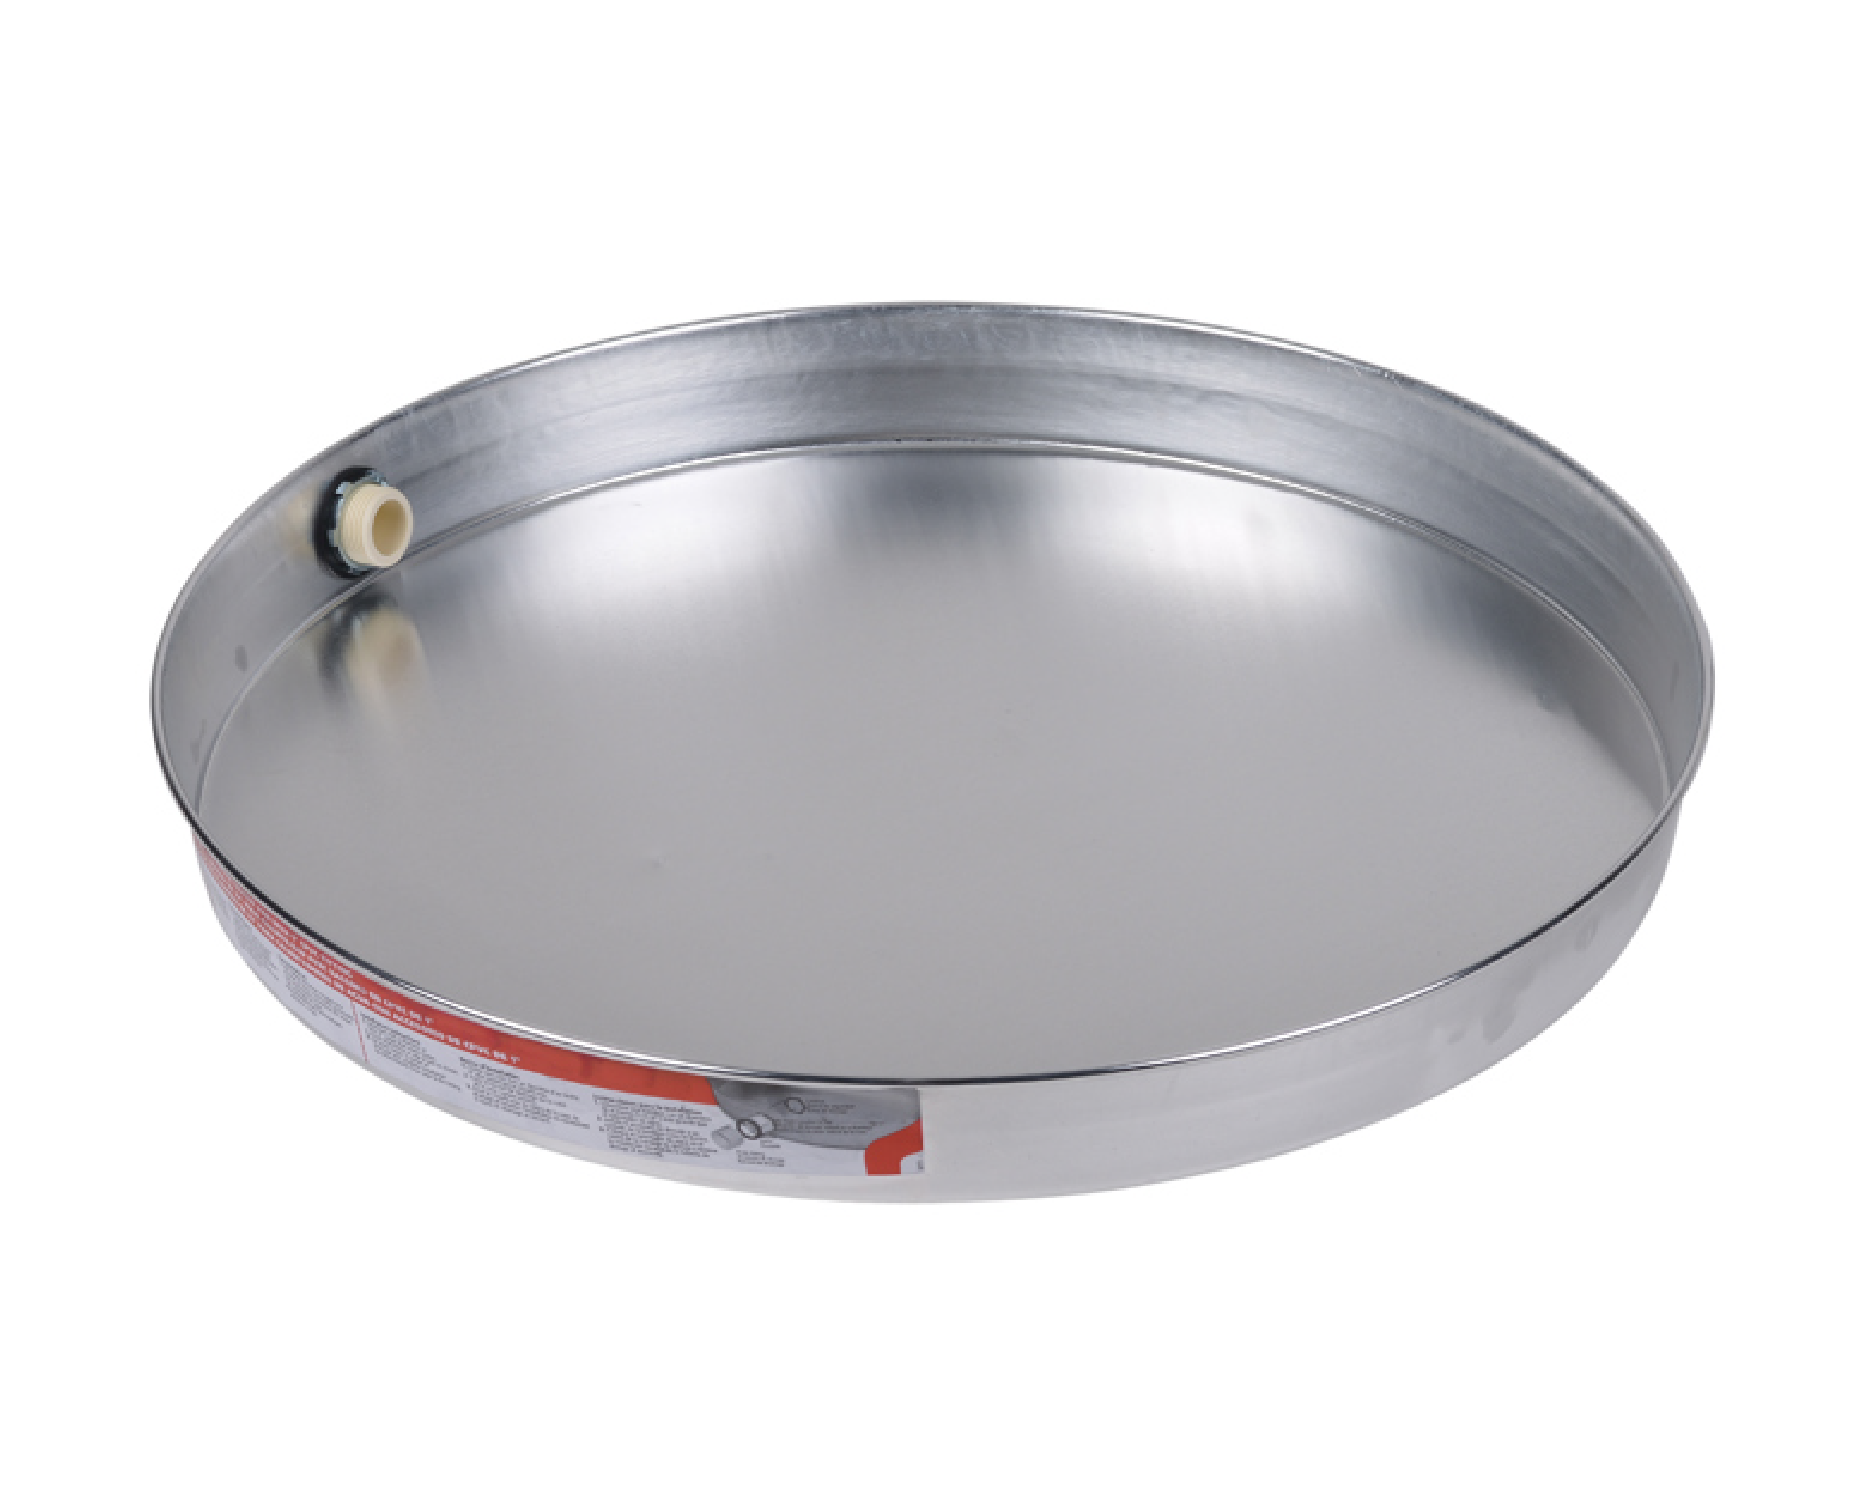
Oatey offers a variety of high-quality aluminum drain pains. The Oatey® Aluminum Water Heater Pans are made from .032 prime aluminum and include a 1-inch CPVC, 1-inch PVC or 1.5-inch PVC adapter for drainage. They are Southern Building Code-compliant and designed with a minimum depth of 2.5 inches. These water heater pans also feature a pre-cut drain hole and adapter for easier installation.
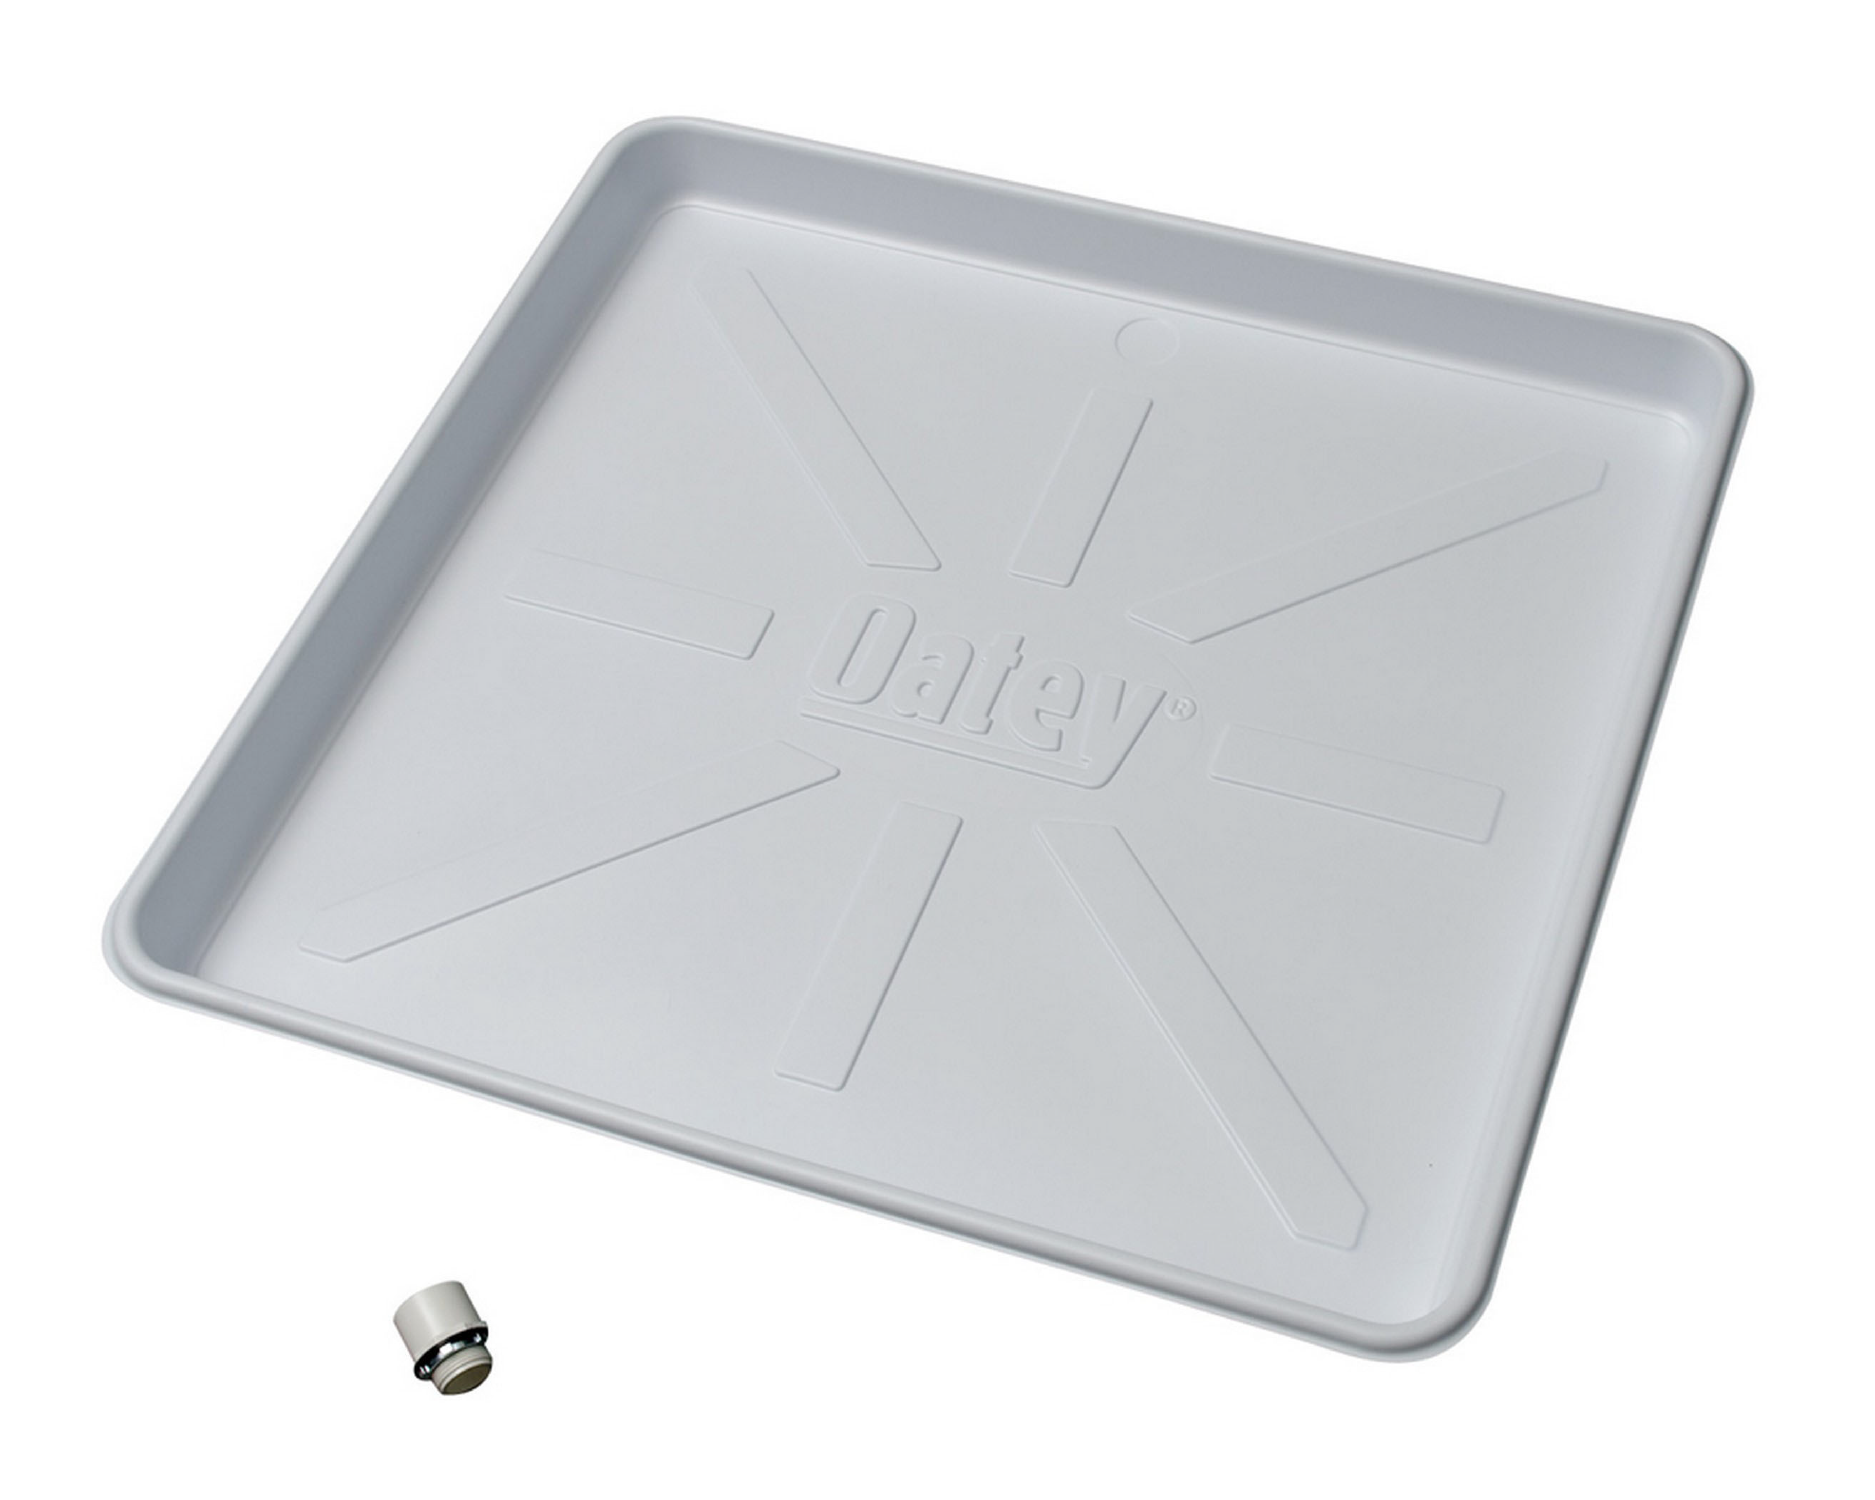
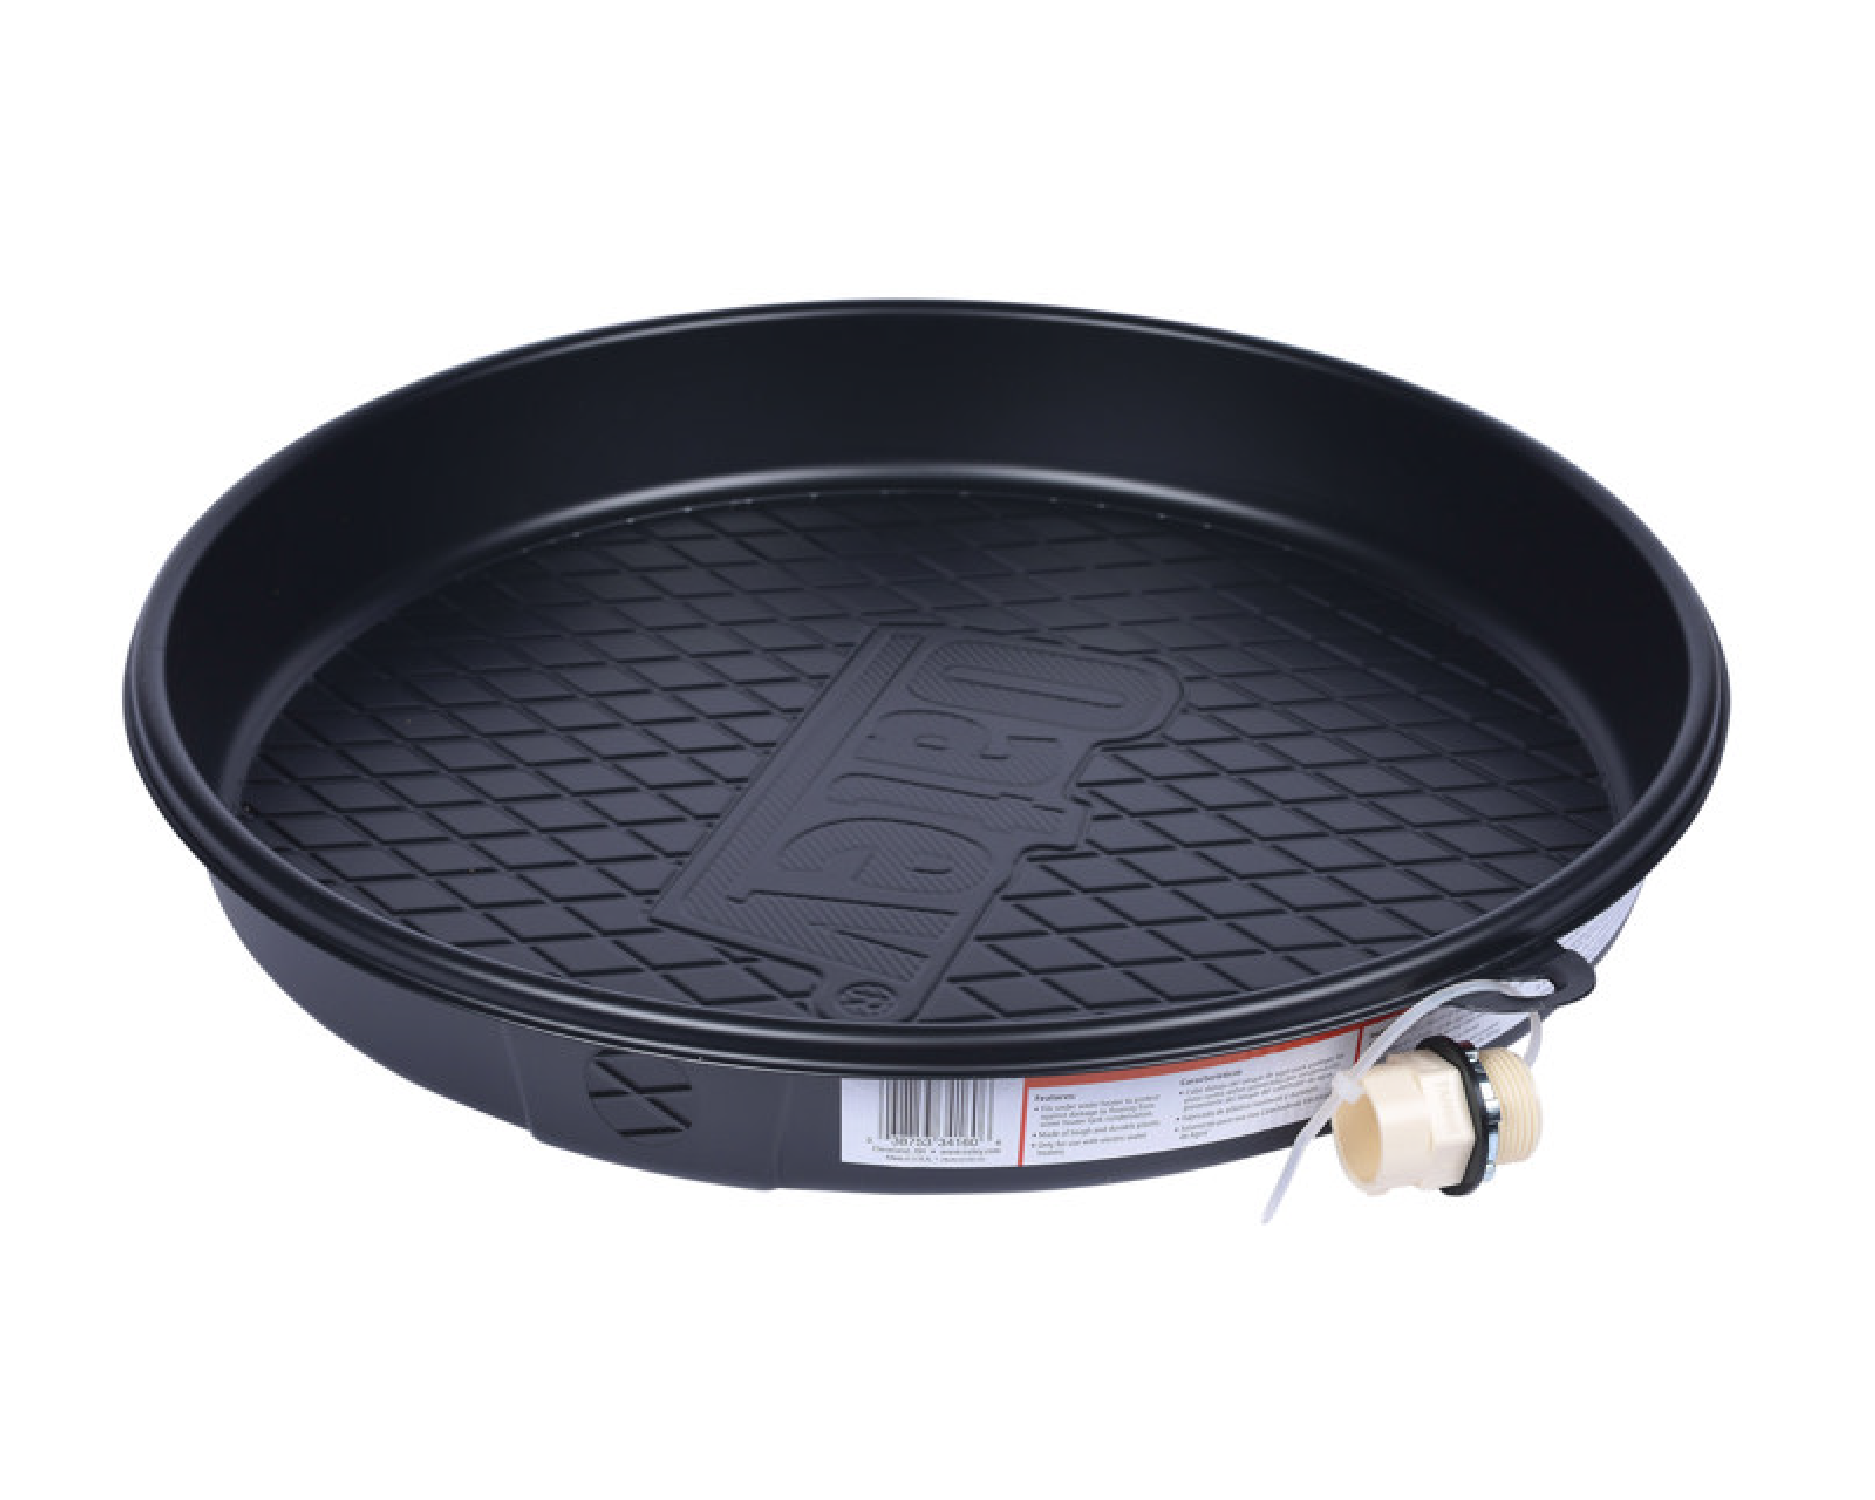
Plastic Pans: While metal pans provide increased durability, plastic pans have several advantages. Plastic pans do not rust and are generally easier to handle and install due to their lightweight nature. However, they may be less durable when exposed to high temperatures or sharp objects. Plastic drain pans are only safe for electric heaters and washing machines. Note: For any gas water heater installations, you must use aluminum.
Oatey offers a range of plastic drain pans in various sizes and configurations. The Oatey® Plastic Water Heater Pans include a 1-inch to 1-½-inch PVC or 1-inch CPVC adapter for easy installation. Oatey's plastic water heater pans are specifically designed for electric water heater applications.
How to Measure and Install a Water Heater Pan
Now that we've discussed the fundamentals of water heater drain pans, you might be curious about how to install one to safeguard your home. First and foremost, ensure that you have the appropriate tools on hand.
You will need:
- A measuring tape
- A drill (if your water drain pan lacks a pre-cut hole)
- A pipe cutter
- The water heater pan
Step-by-Step Installation Guide
- Measure the diameter of your water heater.
- Select a pan slightly larger than your water heater's diameter to allow room for a drain fitting to be installed.
Note: Be mindful of the pan depth. It should be deep enough to contain approximately three or four gallons of water. It’s also essential to have a slight clearance around the sides of the pan so that drain fittings and adapters are accessible.
- Place the pan beneath the water heater, making sure your drain fitting is accessible.
- If your water heater pan does not come with a pre-cut hole, drill a 1-inch to 1-½-inch hole for the drain adapter. The size of your hole will depend on the drain adapter.
Oatey® Water Heater Pan Adapters are available with 1-inch and 1-½-inch PVC or 1-inch CPVC drain fittings to allow for connection to an indirect drain.
- Run the pipe from the drain pan to the drain.
- Ensure all connections are tight and there are no leaks.
Why Is There Water in My Drain Pan?
Discovering water in your water heater drain pan can be unsettling, but understanding the potential reasons can help you address the issue promptly and effectively. The presence of water might indicate that your water heater is leaking, which could stem from a variety of sources:
- Temperature and Pressure Relief Valve (T&P Valve) Discharge: The T&P valve is a safety feature designed to release water if the pressure or temperature inside the tank is too high. If the valve is leaking or discharging water, there may be a larger issue that needs to be addressed.
- Corrosion within the Tank: Water minerals can corrode the tank's interior over time, leading to leaks. Regular maintenance and inspection can help identify corrosion early.
- Faulty Plumbing Connections: Drips around the inlet and outlet connections suggest a need for tightening or replacing the fittings.
Should you find water in your pan, prompt action is required to prevent further damage. Consult with a licensed plumber to accurately diagnose and remedy the situation. Preventive measures, such as annual inspection and maintenance, can help prolong the life of your water heater and minimize the chances of leaks.
Remember, a drain pan is a layer of protection, not a solution to water leaks. Addressing the underlying reasons for water in the pan is essential to safeguard your home and maintain the effectiveness of your water heating system.
Installing a water heater pan is a proactive step in safeguarding your home. Neglecting this crucial component can result in expensive repairs and potential health hazards. Protecting your home starts with this straightforward yet highly effective measure.